
Welcome to our latest watch modding tutorial!
In this post, we will guide you through the process of customizing your Casio G-Shock 5600 or 2100 series watch. The beauty of the G-Shock ecosystem lies in its modularity. With the right parts, you can easily transform a sporty resin timepiece into a luxurious steel statement piece or a sleek, modern transparent daily wearer.
Whether you are looking to refresh a worn-out bezel or completely overhaul your layout, this beginner-friendly tutorial covers exactly what you need to know.
What You’ll Need
Before breaking down your watch, it is critical to prepare a clean, organized workspace. Having the proper instruments on hand prevents damage to the delicate internal components of your timepiece.
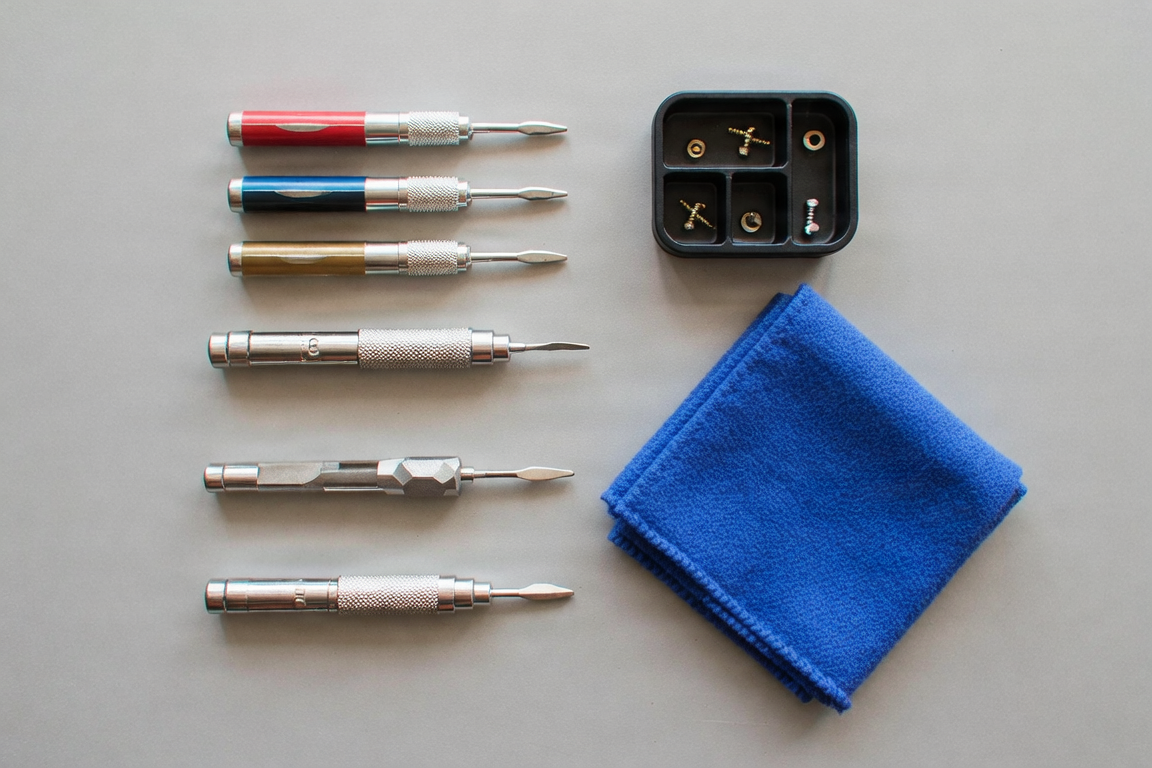
- Precision Screwdriver & Spring Bar Tool Set: Standard household tools are too bulky and can permanently strip your hardware. Make sure to use specialized G-Shock Repair Tools designed for miniature watch electronics.
- A Workspace Container: A small tray or bowl is essential for storing your tiny case screws so they don’t roll off your desk.
- Microfiber Cloth: Essential for keeping the glass crystal clean and preventing scratches on your table surface.
- Your Chosen Modification Upgrade Kit: A fresh outer shell or strap from our premium catalog.
Step-by-Step Guide: How to Customize Your G-Shock
Follow the steps below to successfully transform your watch.
Step 1: Remove the Original Watch Strap
Place your watch face-down on top of your clean microfiber cloth. Take the fork end of your spring bar tool and insert it into the shoulder of the spring bar pin located on the inside of the lugs. Gently compress the pin inward and pull the stock resin strap away from the main watch case structure. Repeat this step for the other side of the band.
Step 2: Uninstall the Factory Bezel
Grab your precision crosshead or tri-point screwdriver and loosen the small perimeter screws located on the sides of the outer case (typically four screws in total). Drop these tiny screws directly into your small container for safekeeping. Once the screws are out, gently pry the flexible factory resin bezel outward and away from the rigid inner timekeeping module (the core).
Step 3: Deep Clean and Prep the Core Module
With the naked core exposed, you will likely notice a buildup of hidden dust, sweat, and debris around the buttons. Take your microfiber cloth and thoroughly wipe down the external surface of the module.
Optional Upgrades: If you are looking to do an advanced custom layout, this is the exact stage where you would slide in a colorful new GM-2100 DIY Scale Ring or replace internal components before enclosing the case.
Step 4: Install Your New Custom Mod Kit
Depending on your specific G-Shock model generation, choose your path below:
-
- For the 2100 “CasiOak” Series: If you want a striking metal look, drop your clean core module directly into an integrated CasiOak Metal Mod Kit for Casio G-SHOCK. Align the side pushers, drop the module into place, and secure the shell using the custom screws included with your kit. Alternatively, for a lightweight, icy appearance, slide on a clear Transparent Casioak Kit.
- For the 5600 “Square” Series: Revitalize your classic square shape by lining up your new bezel over the core module. Ensure the button clearances line up nicely, press it into place, and hand-tighten your case screws back in. Secure a fresh look all at once using a matching Watchband & Case Mod Kit for Casio G-Shock 5600/5610 Series.
Step 5: Final Function Check & Polish
Before wearing your creation out, systematically press each side pusher to confirm that the buttons seamlessly actuate the internal settings and light configurations. Give the entire setup a comprehensive final wipe down with your microfiber cloth to eliminate oily fingerprints. Your fully customized G-Shock is officially ready to hit your wrist!